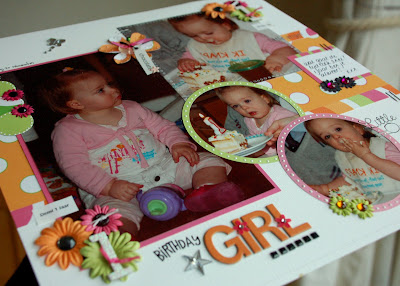
Of course I want to share this workshop with you too..and I'd love to challenge YOU to create a card following this workshop, post it on your blog or somewhere else and be sure to post a direct link to your entry in the comments section of this post at latest on Monday March 16th!!! I'll pick one random winner on Tuesday March 17th who will receive a fun fun card RAK.
*****************************************
Needed: Piece of white cardstock in any size you want, different pieces of patterned paper, 1 circle of patterned paper, 1 handcut flower, 1 clear button, a piece of floss, a rubon/sticker, 2 flowers, 2 safety pins, some jewels/rhinestones, staples, Puffy Paint (or another kind of 3d paint), distress ink, glitters and if possible a sewing machine to stitch without thread on the borders of the cardstock and patterned paper.
.JPG)
Distress the borders of the patterned paper shapes and cardstock with distress ink (and create holes in them with your sewing machine if you want)
.JPG)
Get the piece of white cardstock in front of you and fold it in half, cut off a small strip of the front of the card and adhere a small strip of pink patterned paper inside the card (as shown)
.jpg)
Adhere the pieces of patterned paper (as shown) and add the patterned paper circle to the lower right part of the card. (I’ve also added some white 3d dots around the circle)
.jpg)
- Take the handcut flower & clear button in front of you.
- Put some diamond glaze on the clear button and add some glitters to the glue to give it a glittery look.
- Add floss through the holes of the button
.jpg)
- Start layering your flower now by starting with a small circle of patterned paper (or a sticker) and then the clear button.
.JPG)
Add the layered flower to the card (as shown, on the upper right part of the card).. and adhere your card title/text to the circle (or where ever you want).
.jpg)
Adhere some flowers to the the circle (as shown) and add a jewel to the ‘heart’ of the flowers.
.JPG)
- Add little dots of puffy paint on the petals of the flower
- Add 2 stickpins to the clear button
- Add some staples to give it a finished look
- Distress the borders of the card with some black distress ink
- Add 2 stickpins to the clear button
- Add some staples to give it a finished look
- Distress the borders of the card with some black distress ink
YOUR CARD IS FINISHED NOW!
.JPG)
Happy Scrappin'!!
Can't wait to see what you come up with!!
XOXO
Nancy
Nancy


.JPG)
.JPG)


